Saturday, December 28, 2013

Garden Makeover

It was time to make the garden look a bit more organised and maintained - but we still wanted to keep the old fashioned villa feel to it.  What better that to add some formality with box hedges - its a bit like vacuum cleaning - if the box hedge is well trimmed then  everything else will look tidy.  While we are at it clipping the pittosporum also made a big difference.  The rest of the plants can be a little unwieldy but the core plantings tie it all together!  Well that is the idea anyway!! :)


In keeping with the side garden we have put a row of boxus hedge around the border of the back sunny garden.  In the middle we will have the core plants of hydrangeas which will sport big blooms with pops of colour for summer months of the year after the cineraria's have done their September flowering.


Under the privet hedge which has taken a beating and looking really bare at the moment due to it getting out of control we have a row of what I thought was called a boars ear plant.  They will hide the ugliness of the bare branches.  Just have to remember to put snail and slug bait around them because the beggars love to eat the big leaves.


Tuesday, September 24, 2013

Coopers Wood Restoration System

We got a good deal for enough stripper; flusher and moisturiser to restore all the doors and the bathroom panelling!  No sanding or polyurethane.  The moisteriser is a wax protector clear coat which  highlights and seals the wood.  It just has to be reapplied every 2 years.

Looking forward to having fresh wood and panelling - it is going to make a huge difference!

Cooper's Restoration System
1-3 Ross St, Woodville NZ
www.cooper-it.com

The front door has been long overdue for repairing - the harsh salty air and general grime of roadside dust and dirt was engrained into the timber and the varnish had perished.  The kick-start I needed  was when I put the Christmas Wreath up - which emphasised the bad condition the door had got into!  With the help of Coopers Restoration stripper and moisturiser it has a new life and look!  Just have to paint the door frame and the front entrance will look mint again!

BEFORE RESTORATION!
 
AFTER


Note:  The door has since been painted with Cabots Danish Oil - using the same technique as the bathroom.  It is as good if not better as the Coopers Restoration System.


Friday, August 30, 2013

The Evolution of the Lounge

 28th September 2015: The Lounge 

The lounge is done!  So pleased with the eclectic vibe that it has - a fusion of wood/gold and cream that is warm and inviting!  Just have to replace the curtain rails which have decided they have had it! 


19th November 2014
A momentous day where our electrician came in to connect the electricity up in the lounge.  FINALLY!  The chandelier newly checked, cleaned and buffed looks sparkling with its new candle light bulbs! 

The room has acted as our garage for the last year or so - therefore the last task to do is to empty the room of the tools, paint and gib board out! Give it a good dust and vacuum; pop a bottle of champagne and celebrate the completion of this our third renovated room.

24 May 2014
Our thanks go to Alice and Pierre from France for painting the ceilings and walls of our lounge!  They did an amazing job!


You need to zoom in to see the tiny bay trees!!  The larger ones at the garden shhop were too tall and spindly and we want to promote good bushy trees to make a hedge - so have to wait!! :)

Paint Colours
Walls:  Resene Quarter Parchment
Ceiling:  Resene Alabaster

12 April 2014
Time for plastering finally.  Les put in some hard labour getting this done for us at his usual high quality! :)

The Electrics get a Facelift

We thought we should get the electrics checked when the lounge was getting stripped of its old linings.  The fusebox in the hall was also of a concern as it stuck out a lot so we have had it replaced with a brand new system. 


The new system has modern switches  and includes  RCD safety switches so there will be no chance of getting electrocuted or faulty wiring causing a fire.

EcoCity Electricians Limited
Tom Wood - Registered Electrician
09 8250558
021 501 933
tomwood.electrician@gmail.com

Thursday, March 28, 2013

The Pink Room Renovations


Emily's bedroom was the coldest room upstairs due to no insulation and being on the colder side of the house.  Therefore it was important to fix this room first!  Our friend Karl Goodwin put in the Pink Batts fixed the gibboard in this room. We purposely kept the walls to original - in other words there are no straight walls!  :) One of the things we wanted to avoid was the 'new house' look and lose the character and feel of the very old house that we love so much.

A built in wardrobe has also been installed so that clothes and belongings can be stored away!

Before
Next


During
 
After
This room was the brightest hot pink you could imagine!  Emily loved it - and so did I!  It was brave, vibrant and cheerful!!    However we are going to go for boring and paint this room an antique white.  This way we can use this room for our international students and will be able to  change the soft furnishings to suit either a boy or girl!  I can make the soft furnishings exciting!  :)

The White Pointer "white with hint of grey" was OK - but a little cold and impersonal. (Note:  Double White Pointer is what the rest of the house is in now - and as it has more yellow in it - making it greige - it is a lot warmer.)  So we chose another colour - one that can be prettied up for a girl and made masculine using black and blue for any boys that may use the room!

Resene Chill Out (G92-038-108)
Zylone Sheen

Much better - Louis and Elise painted the walls.

Sunday, January 20, 2013

The Secret Garden

29 December 2013

Almost finished - just need to get a larger table and six chairs and plant a border of plants around the garden.  We will paint the garden shed black to make it disappear into the background.


27 December 2013
We were getting sick of having to weed the upper garden so it was time to take action and get the next stage of the Secret Garden done!  Compacting the earth in readiness for putting down the weedmat and shells made all the difference - the ground felt more solid!  Great another job done....can't wait for the shells to be delivered!
Compacting the earth!

Weedmat laid


The star jasmine has been planted along the fence line - which will provide lovely fragrance as we eat breakfast in the in the dappled morning sun. 

Next step - painting the shed charcoal grey to make it blend into the garden area...


September 2013
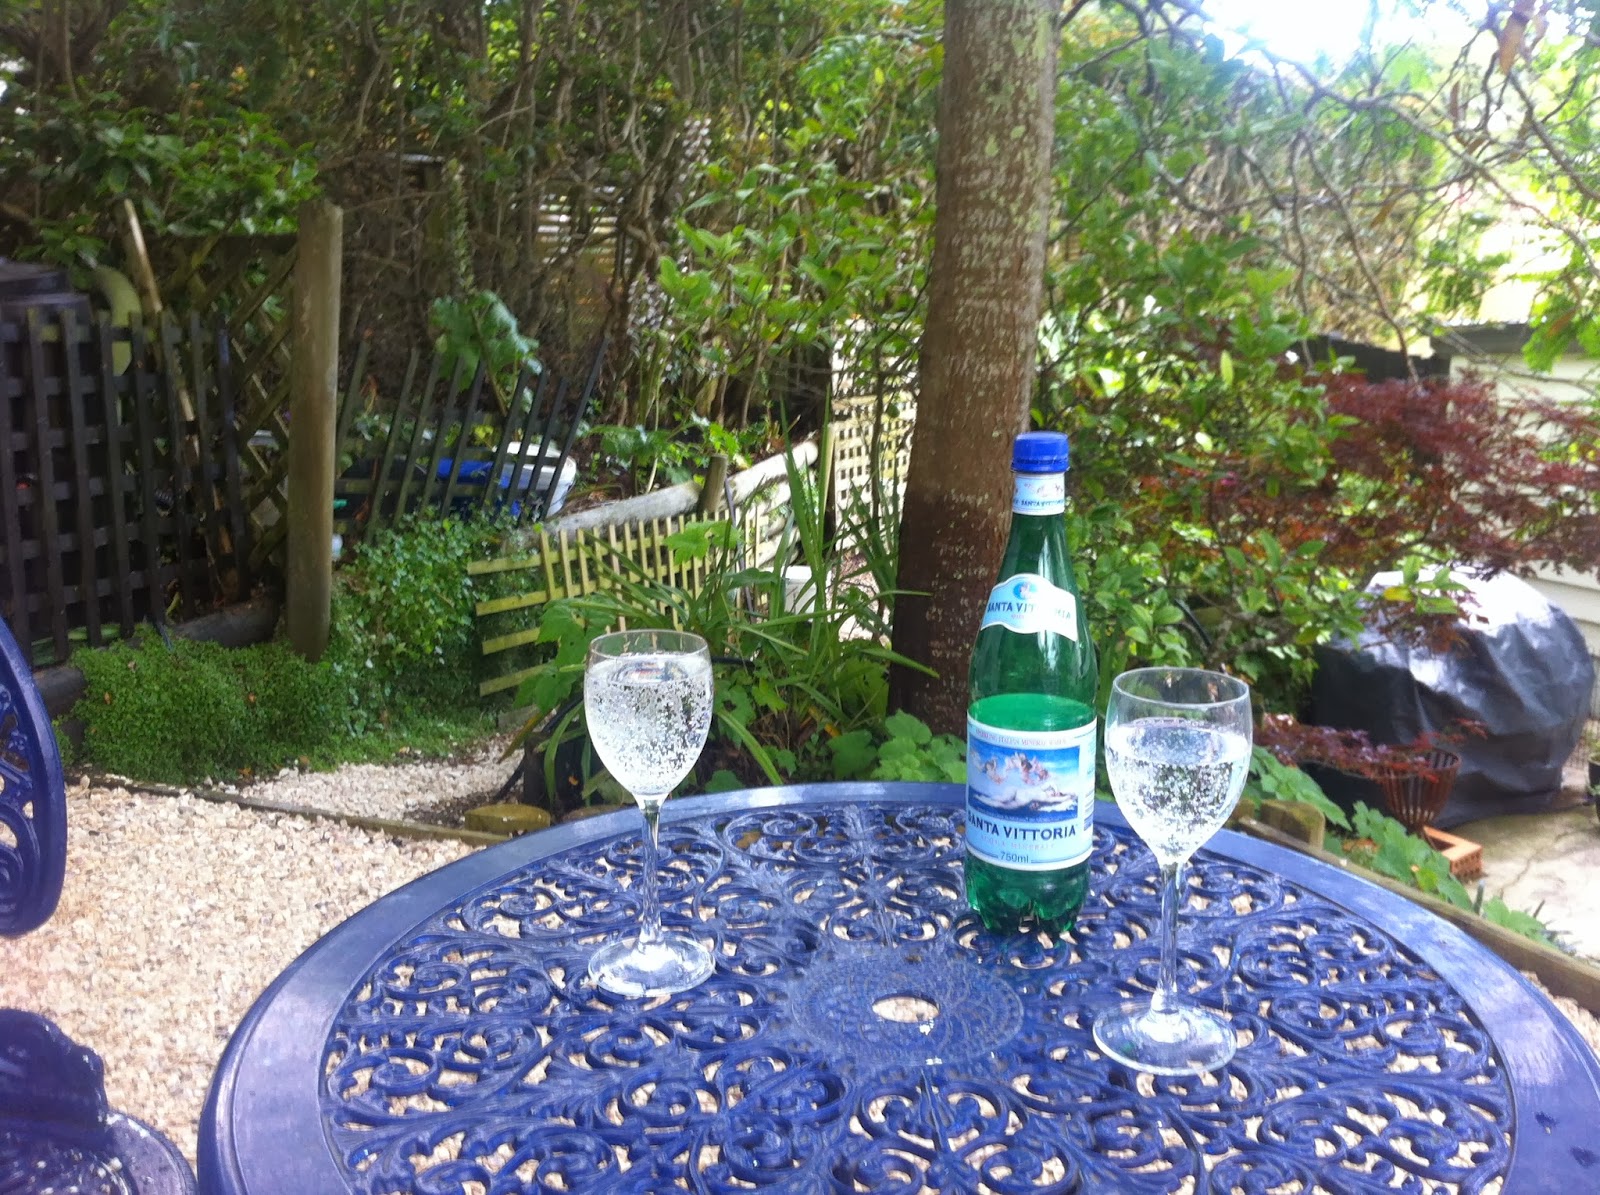
The back garden has long been an area which we have felt has not been utilized as much as it could have been. Catching the morning sun, this area will be a lovely space to have breakfast and relaxing cups of tea in the sunshine on a nice outdoor table and chair set.  The  mature tree provides the perfect green shade umbrella and a place to hang tea lights for romantic BBQ dining.  I am wanting to create a secret garden effect - informal, rambling and relaxing.  The two lemon trees on each side of the steps leading to the area will be shaped into an archway which will reveal the area.

Inspiration
I am inspired by the courtyard at "Columbus Cafe" in Onehunga.  It looks very French like.  Daisys, lavender, and even has the same type of tree we have.

GroundCover
We have chosen to continue with the existing shell/stone mix of the existing pathways as the roots of the tree will not damage this effect.  ( A large root has broken a concrete step which tells me it is better to work with nature than against it.)

Planting
A border garden of lavender will go along the retaining wall this will soften the lines and also provide a natural boundary stopping people from going over the edge of the wall.  I will need to find a variety that withstands the shade - or find an alternative plant that enjoys the shade.  The boundary fence has a star jasmine growing - we will purchase more to replace the ferns which were there before.  They provide a lovely fragrance and have white flowers in the summer.